Creating controlled fillet edges in Houdini often requires isolating only the areas that need rounding rather than applying
a bevel across an entire mesh. By generating a gradient mask, you can precisely define where the fillet effect should start
and how it should blend into the surrounding geometry.
One common approach is to build the mask directly from selected groups and use attribute gradients to drive the fillet width.
This provides smooth transitions and gives you far more artistic control than a simple uniform bevel operation.
The Group Expand SOP is particularly useful for this workflow. Starting from a base selection, you can expand the group outward and
convert the resulting falloff into a mask. The expansion distance effectively controls the influence region of the fillet.
Alternatively, masking workflows can be used to paint, transfer, or procedurally generate gradients based on topology, curvature,
or proximity. These masks can then drive bevel widths, smoothing operations, or custom VEX-based edge treatments.
Combining gradient masks with procedural grouping techniques allows for highly targeted edge rounding while maintaining
a fully non-destructive workflow. This method is especially useful for hard-surface modeling where only specific edges require
softened transitions without affecting the rest of the model.
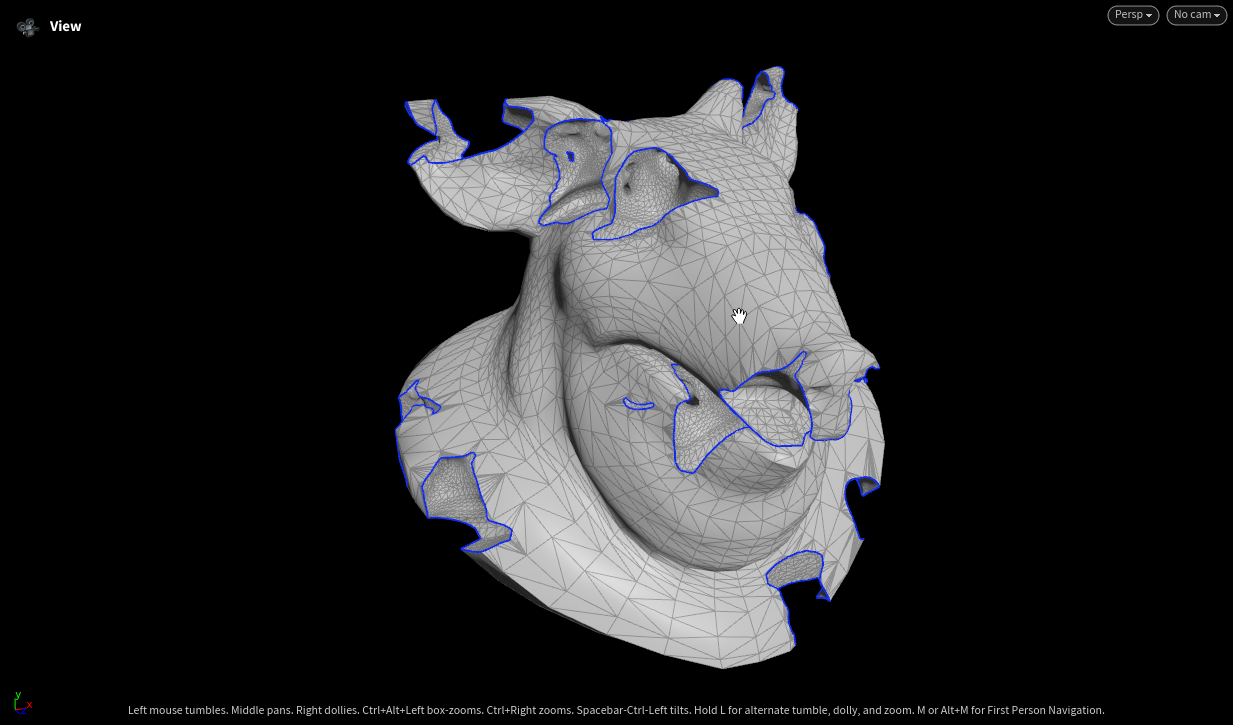
Step 1 — Select the region boundary.
Start with the base triangulated mesh and select the edge loops (shown in blue)
that enclose the regions you want to remesh. These boundary curves define where
the fillet operation will be constrained.
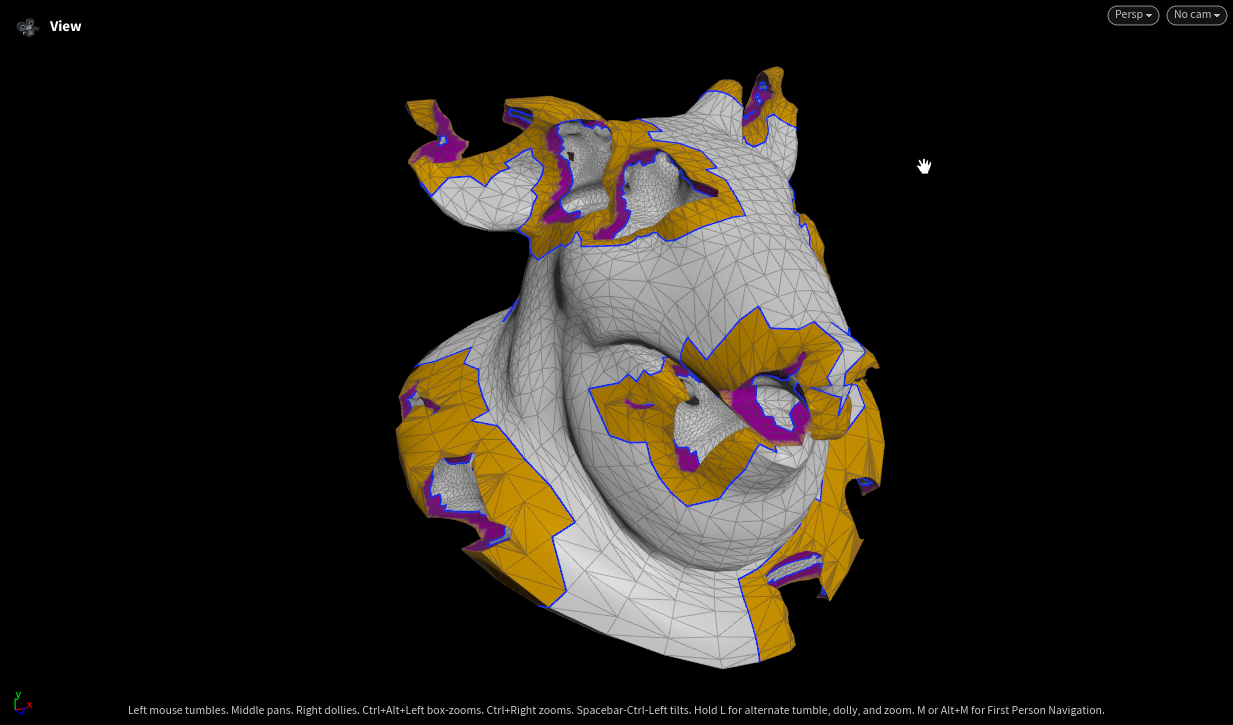
Step 2 — Group and isolate the target faces.
Convert the boundary selection into a face group (orange). The magenta band marks
the transition zone — the strip of faces adjacent to the boundary that will be
affected by the fillet blend.
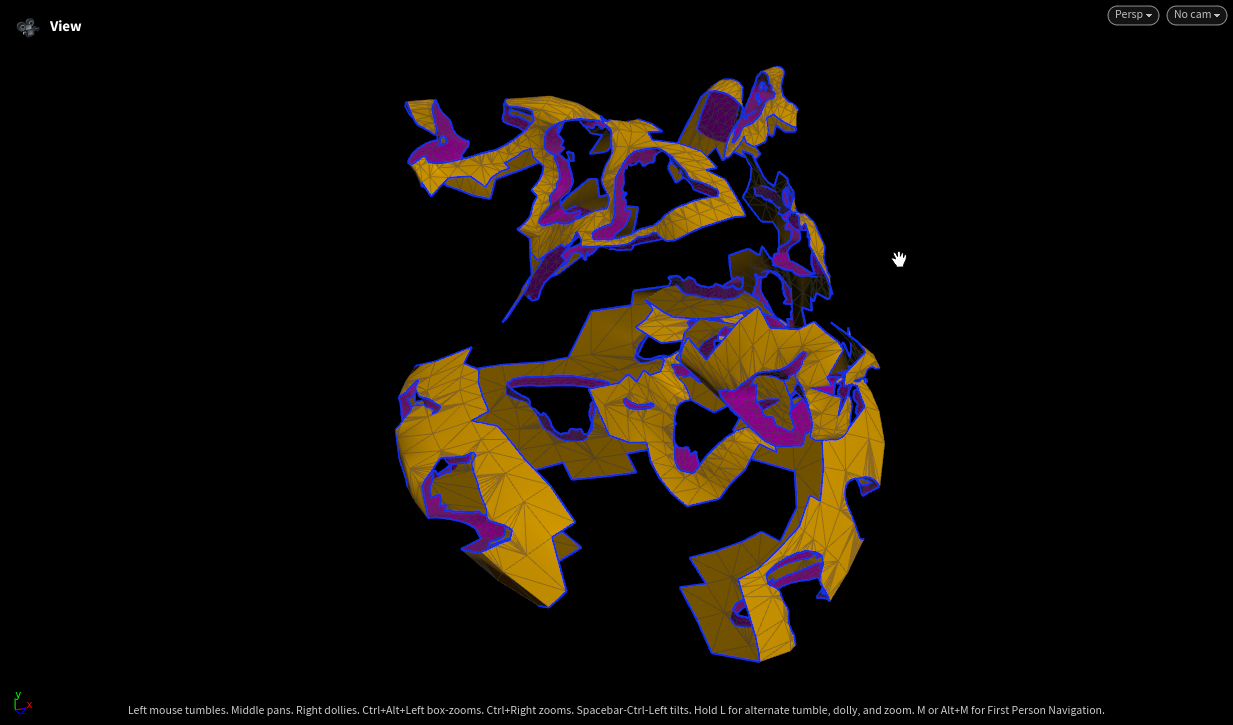
Step 3 — Extract the region.
Blast/delete everything outside the group to isolate just the selected faces.
This lets you operate on the region independently before merging it back.
Step 4 — Scatter points for remeshing.
Distribute a dense point cloud (orange stipple) across the region surface. The
scatter density drives the resolution of the new mesh and feeds the fillet/blend
reconstruction along the magenta transition band.
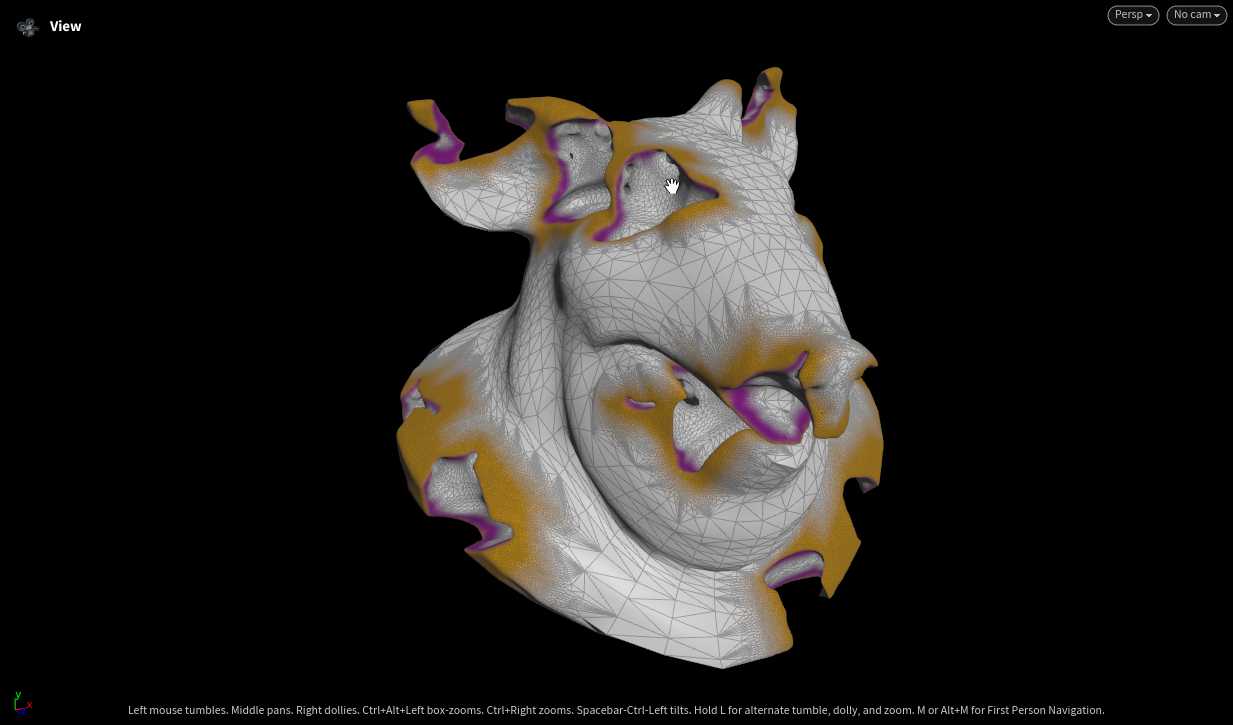
Step 5 — Remesh and fillet the edge.
Rebuild the surface from the scattered points so the region carries a higher,
more uniform triangle density. The boundary is now smoothly filleted into the
base mesh instead of meeting at a hard edge.
Step 6 — Merge back into the base mesh.
Stitch the remeshed regions back onto the original surface. The fillets blend the
high-density patches into the surrounding low-poly mesh, completing the seamless
edge transition.
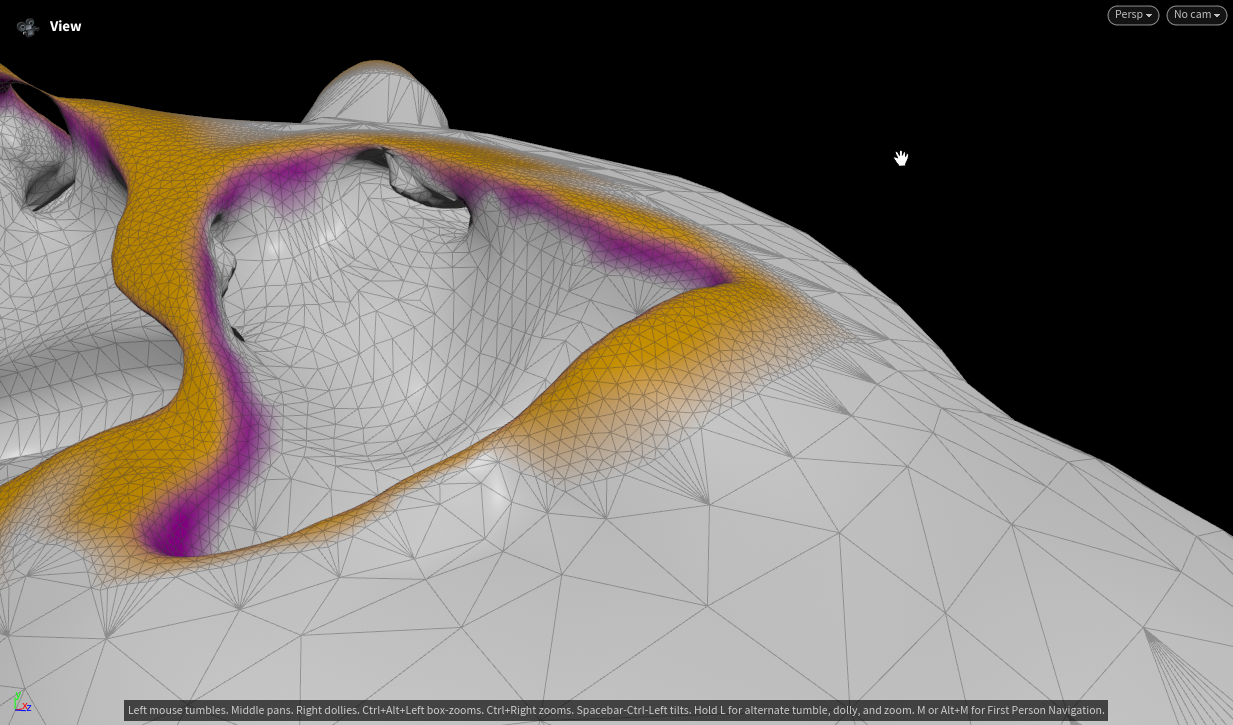
Detail — Before: the sharp edge.
Zoomed in on the boundary between the high-density region (orange) and the base
mesh, the transition still reads as a hard crease. The magenta band marks the
seam where the two densities meet at a sharp angle, with no blending across it.
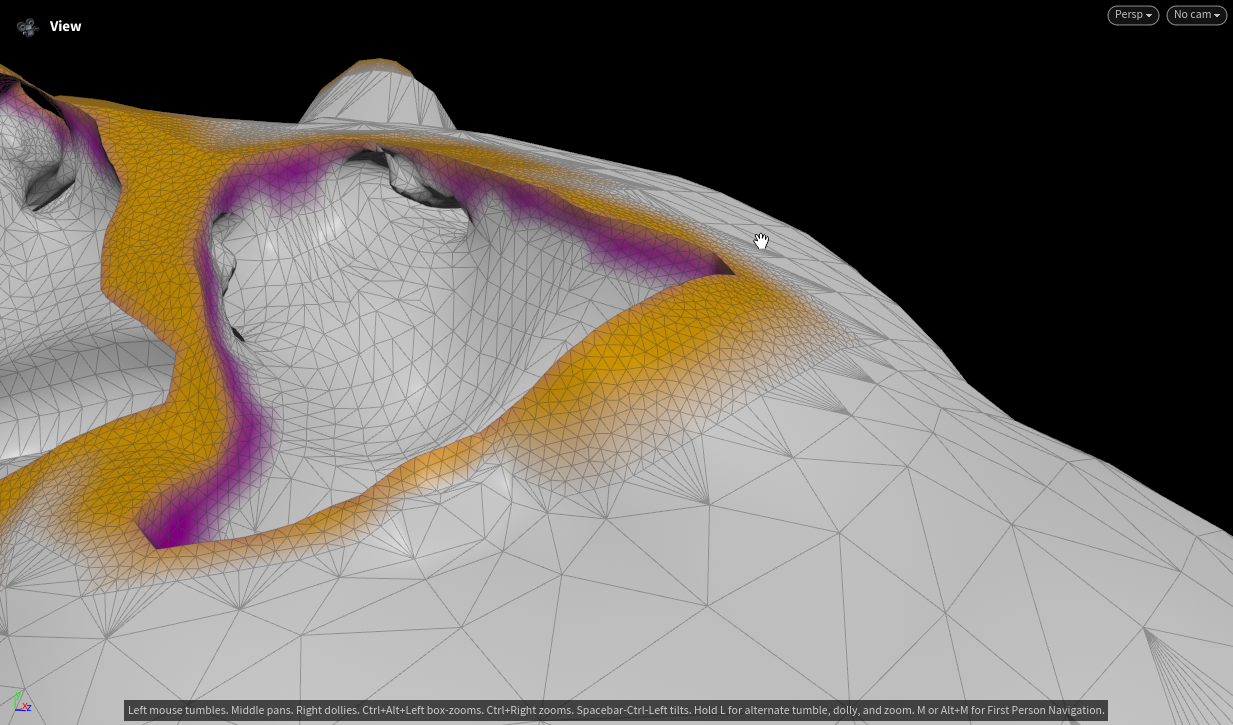
Detail — After: the smooth fillet.
The same edge after the fillet pass. The crease is rounded off into a gradual
curve, and the triangle density eases smoothly between the two regions instead of
jumping abruptly. This soft transition is the end goal of the remesh sequence.
Fillet Gradient Iterations Animation
Houdini Display Tip:
You can make parts in Houdini transparent and control the alpha by making it